Introduction
A GitHub Personal Access Token is a secure way to access GitHub’s API or command-line interface. It can be used as an alternative to a password when authenticating to GitHub, and provides a higher level of security as it can be revoked at any time and can be limited to specific permissions. Personal Access Tokens are generated in your GitHub account settings and are unique to each user.
Prerequisites
- Github Account required
Step 1: Login in GitHub Account
We need to login Github account we need to click on given link.
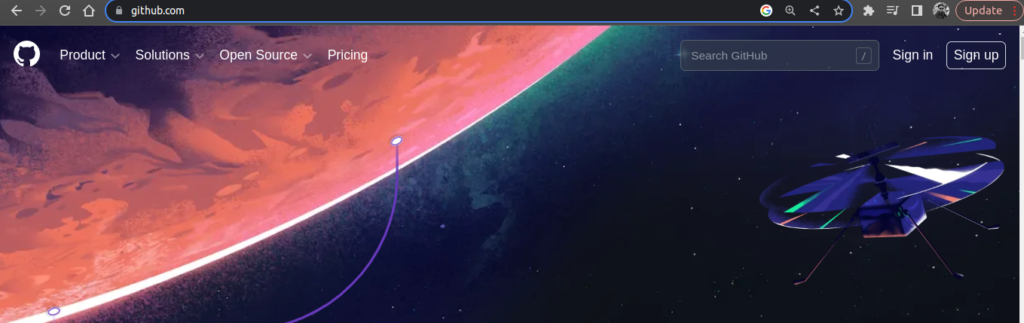
You need to click on Sign in buttom or you can create a new account with Github.
Step 2: Open Setting Section
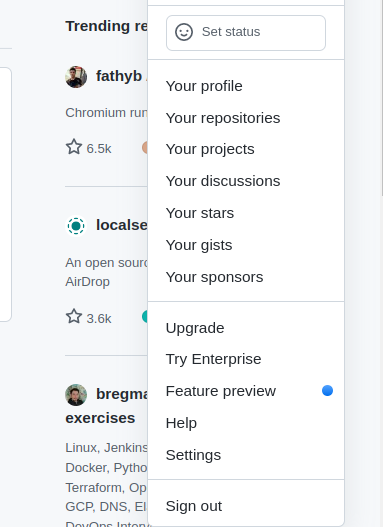
You need to click on profile icon and click on setting as showing on screenshoot.
Step 3: Go to the Developer Setting
Once we click on settting button so then we need to find the developer settings sections.

Step 4: Click on Personal Access Token
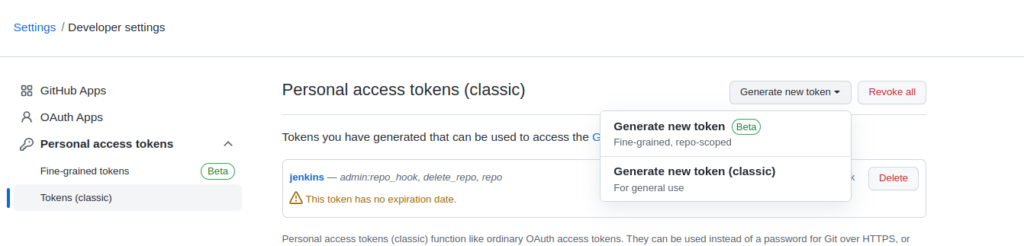
We need to click on Personal Access Token buttom and then we need to click on Token (Classic)

Step 5: Generate New Token
We need to click on Generate new token button in order to generate new token, It will give option to create generate new token (classic)
Step 6: Selecting Permission
Personal access tokens (classic) function like ordinary OAuth access tokens. They can be used instead of a password for Git over HTTPS, or can be used to authenticate to the API over Basic Authentication.
Note – What’s this token for? like Jenkins
Expiration – Select the token expiry date as per your need.
Select scopes – Scopes define the access for personal tokens. Read more about OAuth scopes.
Here you can select the access for the personal token, Like for Jenkins perpose, You can select following permisson that will be basic access.
- repo

2. admin:repo_hook

3. delete_repo

in the end we need to click on Generate token button to get token that will use in Jenkins.
Conclusion
We have successfully create github’s personal access token for Jenkins, If you still have questions, please post them in the comments section below.