Introduction
Apache is an open-source web server software that is widely used on the Internet to serve web pages. It is developed and maintained by the Apache Software Foundation and is the most popular web server software in use today. Apache2 is known for its stability, flexibility, and security, and can be easily configured to serve different types of web content, such as HTML, PHP, and CGI scripts. It also supports a variety of operating systems, including Windows, Linux, and macOS.
Prerequisites
- Ubuntu up and running linux machine
- Root permission
- Intenret connectivity
- Basic knowledge of linux commands
You will learn how to set up an Apache web server on your Ubuntu 22.04 server in this guide.
Step 1: Update the System
You need to update the ubuntu current repository by following the given commands, This will update the apache repository.
sudo apt-get update Step 2: Installing Apache2
Apache can be installed using standard package management tools because it is included in Ubuntu’s default software repositories, You just execute the given command.
sudo apt-get install apache2 -yStep 3: Get Service Status
We need to verify whether the Apache service is running on the Ubuntu machine after installing the Apache2 package. To do this, run the given command.
sudo systemctl status apache2.serviceYou should get output like this.

Step 4: Testing Apache Web Page
After starting Apache2, we need to test the Apache web page as well. To do this, we need to get the IP address of the Apache machine using ifconfig or you can open a browser like http://localhost to see if everything is fine. Once that is done, we will get the Apache test page in that format.
Note: You must have the UFW firewall’s port 80 open if you want to use machine IP.
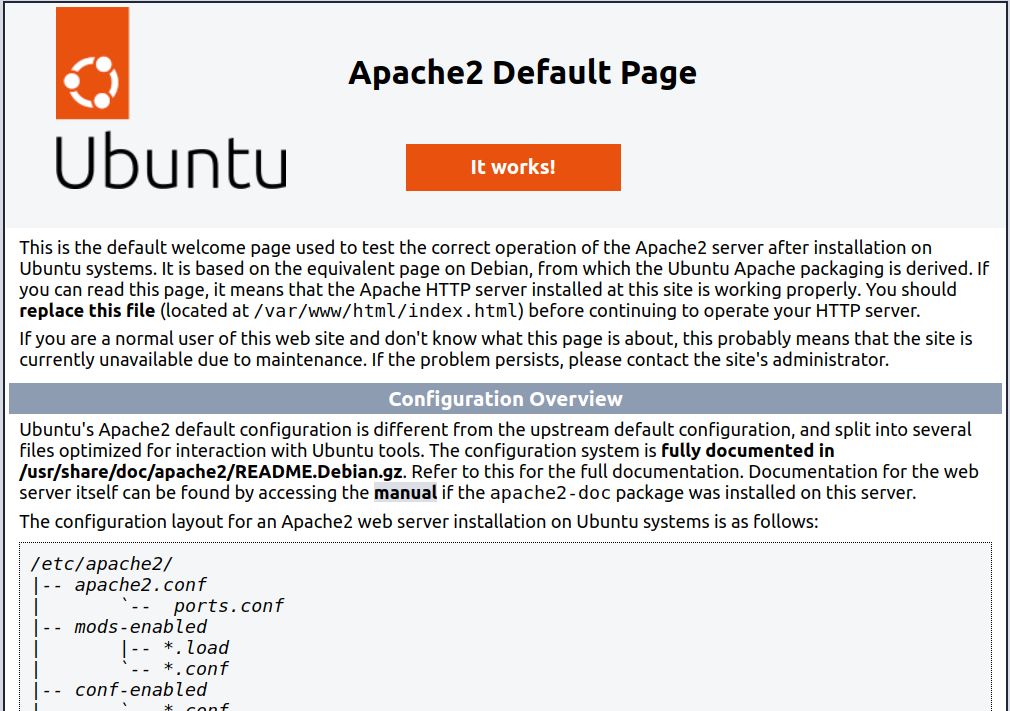
http://localhostYou should get apache test page like this.
Content
/var/www/html The actual web content is served from the /var/www/html directory, which by default only contains the default Apache page you saw earlier. This can be changed by modifying Apache setup records.
Apache Server Logs
Unless Apache is configured otherwise, every request to your web server is recorded in this log file by default.
sudo cat /var/log/apache2/access.logAll errors are recorded in this file by default. The amount of information that will be included in the error logs is determined by the Apache configuration’s LogLevel directive.
sudo cat /var/log/apache2/error.logServer Configuration
/etc/apache2 The directory for Apache configuration. Here are all of the Apache configuration files.
/etc/apache2/apache2.conf Apache’s main configuration file. To modify the Apache global configuration, this can be changed. Many of the other files in the configuration directory are loaded by this file.
/etc/apache2/ports.conf The ports that Apache will listen on are specified in this file. When a module that supports SSL is enabled, Apache listens on port 443 in addition to port 80 by default.
/etc/apache2/sites-available/ the directory where virtual hosts for each site can be kept. Unless they are linked to the sites-enabled directory, the configuration files in this directory will not be used by Apache. All server block configuration is typically done in this directory, which is then enabled by using the a2ensite command to link to the other directory.
/etc/apache2/sites-enabled/ The directory in which enabled virtual hosts for each site are kept sites-available. Commonly, these are made by connecting to design records tracked down in the locales accessible registry with the a2ensite. When Apache starts or loads, it compiles a complete configuration by reading the links and configuration files in this directory.
/etc/apache2/conf-enabled/ , /etc/apache2/conf-available/ These directories are used to store configuration fragments that do not belong in a virtual host and have the same relationship as the sites-available and sites-enabled directories. The a2enconf command can be used to enable files in the conf-available directory, and the a2disconf command can be used to disable them.
Step 5: Uninstall Apache2
The following command must be executed in order to remove apache2 from a Ubuntu machine.
sudo apt-get --purge remove apache2.serviceConclusion
We have successfully installed and carried out the fundamental Apache Web Server tasks; if you still have questions, please post them in the comments section below.

I think other website proprietors should take this website as an model, very clean and fantastic user genial style and design, let alone the content. You are an expert in this topic!
Thanks for appreciating our work @hairstyles.
You helped me a lot with this post. I love the subject and I hope you continue to write excellent articles like this.
Thanks.